Access Request Form Help
The Basic Process
- The person requesting access, or their proxy in the case of a new hire, fills out the online Access Request Form.
- The requestor specifies a supervisor to approve the request - if it is not yourself, make sure the supervisor is expecting this!
- Once the supervisor approves, the request is routed to the Access Grantor. This person will review the request and verify supervisor approval.
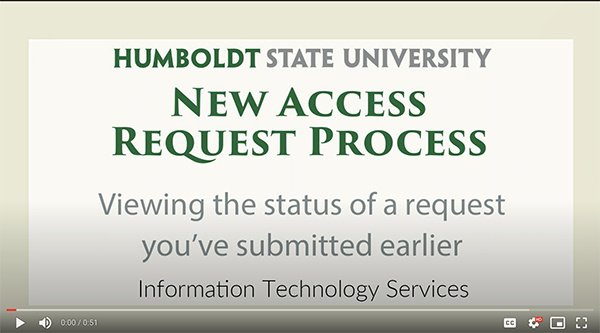
- Once the Access Grantor approves the process, you will receive confirmation of approval via email. If you’re waiting on this confirmation, check the status of your request any time in Account Settings by going to the leftmost tab, “View Requests”.
Still confused? Scroll down to the Need More Guidance? section.
More Information on Selecting Roles
- A “role” is a security term defining what tasks can be performed by specific positions on campus; access requestors select the role(s) they need for their particular position.
- When an employee moves to a new job on campus, it’s also helpful for them to be able to check the roles the previous incumbent held.
- Does this sound helpful to you? You can see all permissions a person has by going to the Access Request Form, and in Step One of the form, entering that person’s name. Press the arrow to the left of their name, and a full list of their permissions will appear.
Follow the links below for additional details.
- PeopleSoft Campus Solutions Roles: This document contains information regarding the names of several roles, in addition to the department/positions they are associated with.
- Roles by Position: This document contains the names of many roles and which Enterprise System they are associated with, and they are grouped by what position they are associated with.
If you are attempting to create a new Enterprise System Role, complete this form.
Need More Guidance?
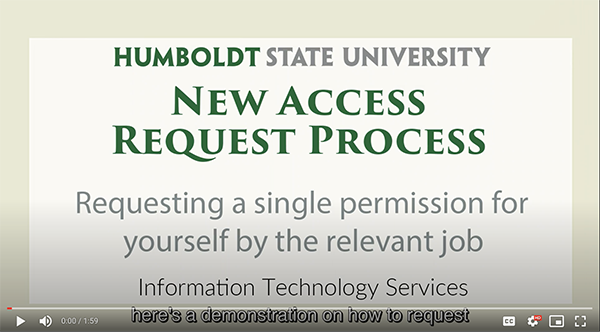
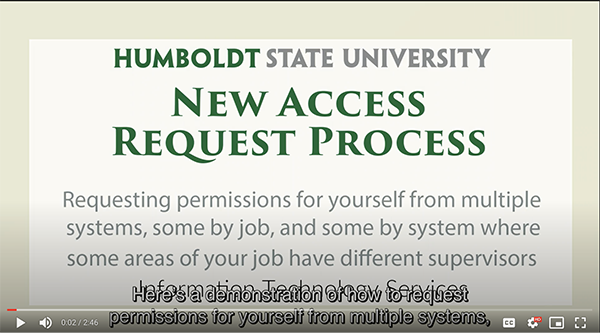
For the common situation in which you’re requesting permissions for yourself, watch this helpful video guide.
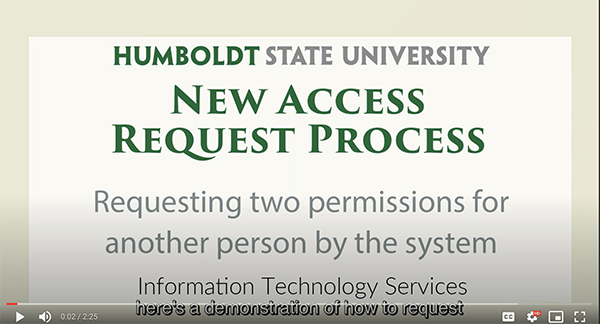
If you’re requesting permissions for another person, watch this helpful video guide.
Alternatively, you may follow this written guide to help make this process easier.
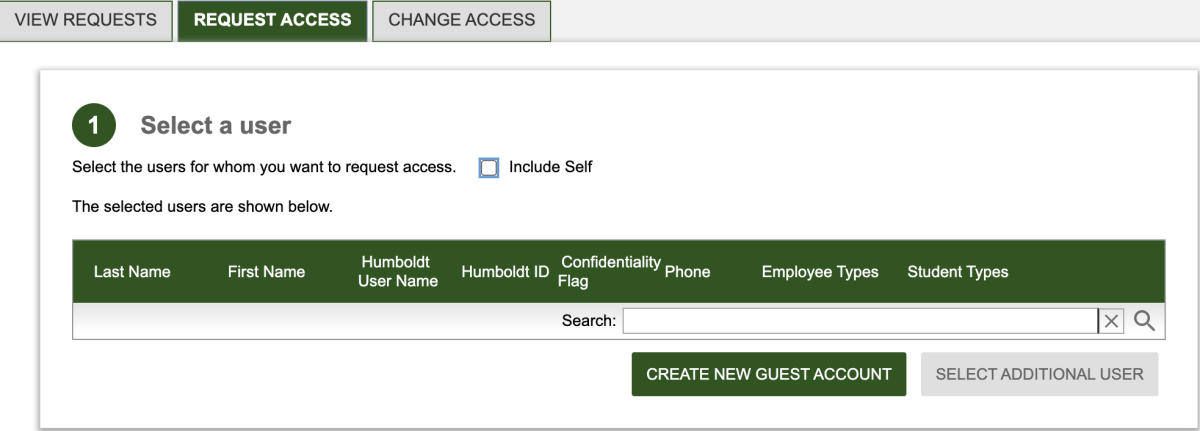
Step One: Select a user. Check the box beside “Include Self” if you’re requesting access for yourself. Once the box is checked, your name will automatically appear and you’re ready to move on to step two. If you’re requesting access for someone else, search their name in the search bar. For an individual not in the university’s system, create a new guest account.
If you are trying to get the same permission/resource for multiple people (employees for example) click on “select additional user” after finding each account.
Step Two: Select resources and permissions. This is where you find the permission/resource you’re looking to get approved. Under the dropdown menu, you will find a number of ways to search for this permission/resource: via department, job, system, or search.

When you select one of these four options, another dropdown menu will appear to narrow your search. Selecting an option from the second dropdown menu will sometimes (depending on your selection) initiate a third to appear, narrowing down results more and more until you find the permission you are looking for.
If you know the name of the permission/resource, selecting “search” via the dropdown menu will be easiest. If you do not, it’s recommended you use the other functions available to find it.
Note: for a list of common permissions/resources, select “Dept”, then under the second dropdown menu, select “Common for Most Departments”.
Alternatively, you may select “Job” from the first dropdown menu, choose an applicable option under the second dropdown menu, and see if the third dropdown menu has a “Commonly Requested Role Packages” option for that job. Some do, and some do not.
If you’ve mistakenly selected a permission/resource, simply press the trash can icon to the right.
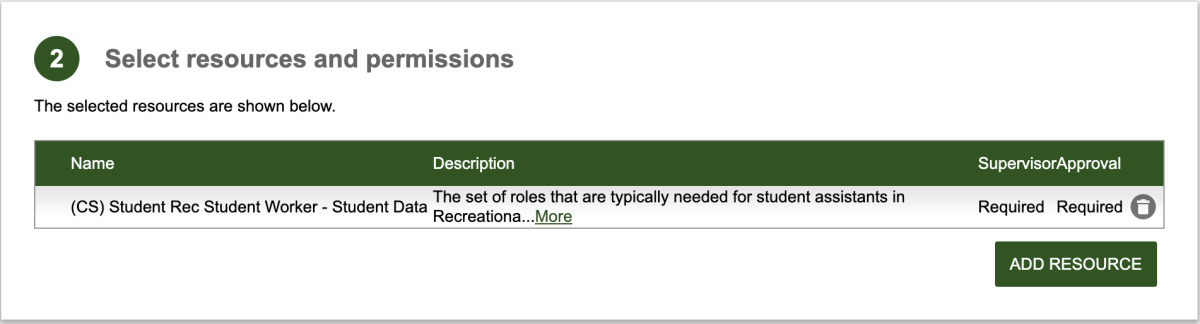
After you have found the permission/resource, select it and press “continue”. If you want to add more permissions/resources from another system, select “add resource”. Watch this video guide for more information on this particular option.
Otherwise, you are ready to move on to step three.
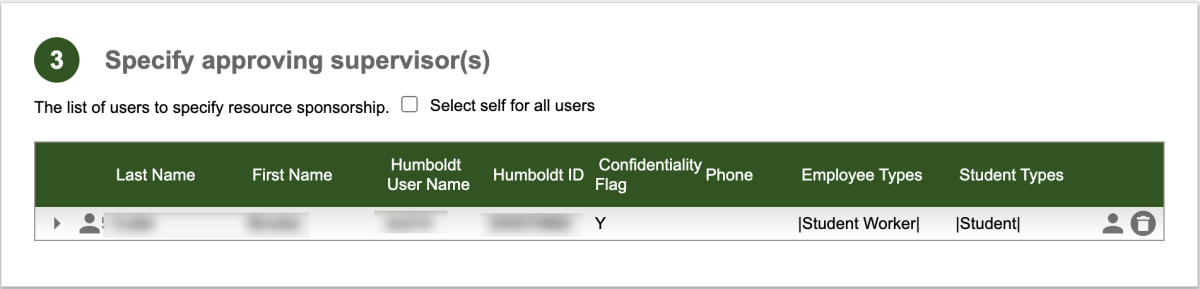
Step Three: Specify approving supervisor(s). This is where you find the name of your supervisor, who should be aware that you’re going through this process, and list them as the person responsible for approving the request.
If you are the supervisor going through this process for your employee or new hire, check the box beside “select self for all users”.
If you are the individual requesting access for yourself, select the person icon to the right. This will prompt a new box to open. Search for your supervisor’s name by clicking the magnifying glass in the upper-right corner.
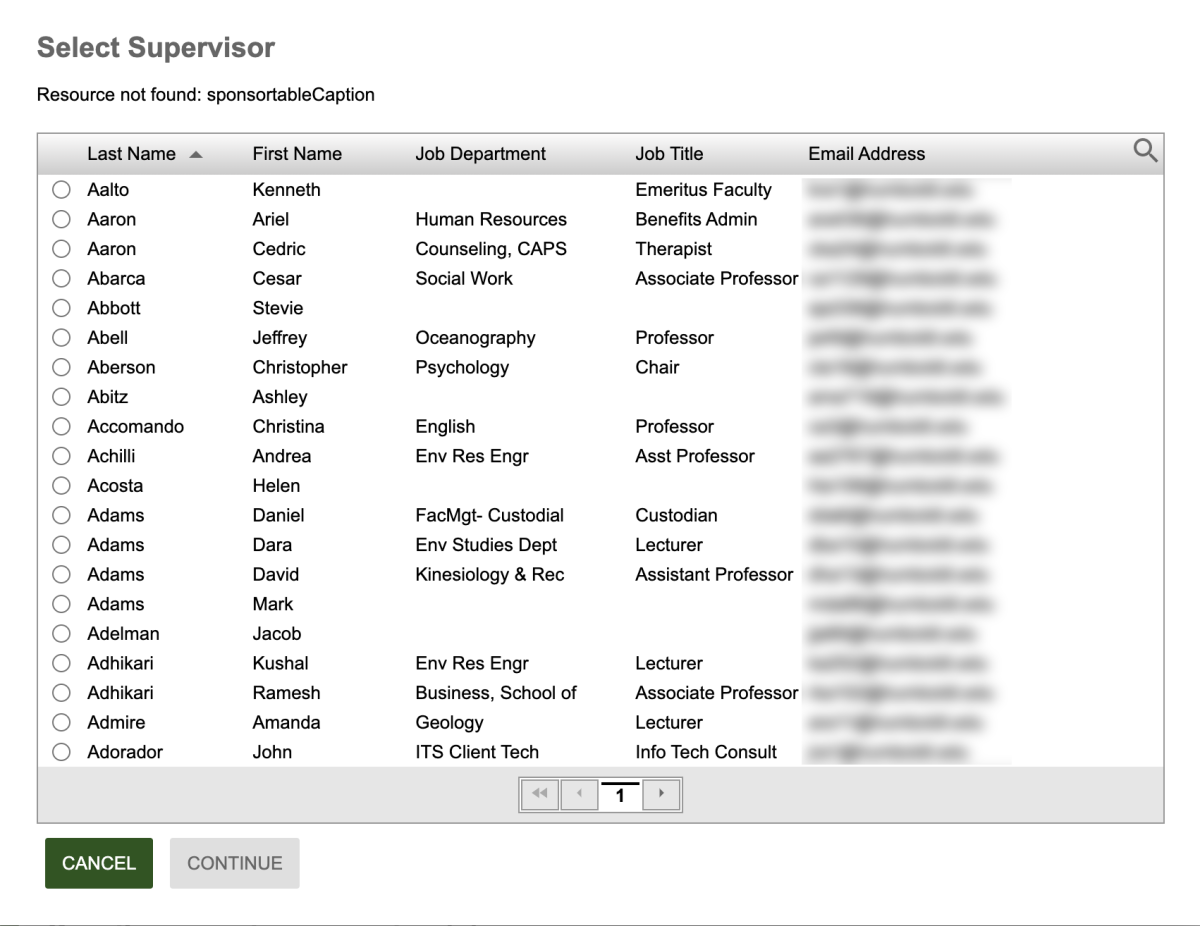
Once you have found your supervisor’s name, select them and press “continue”. The box will close automatically.
Press the arrow to the left of your name to confirm that your supervisor is listed accordingly. You are now ready to move on to step four.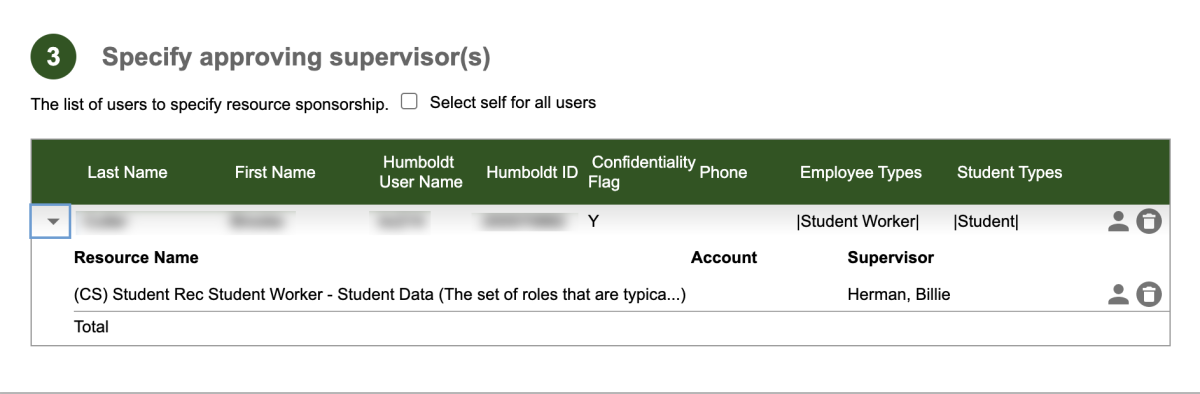
Step Four: Specify access period. Here, you simply list the dates that you need the permission/resource. If you need it indefinitely, such as for your permanent job, check the box beside “Permanent”. You’re now ready to move on to step five.
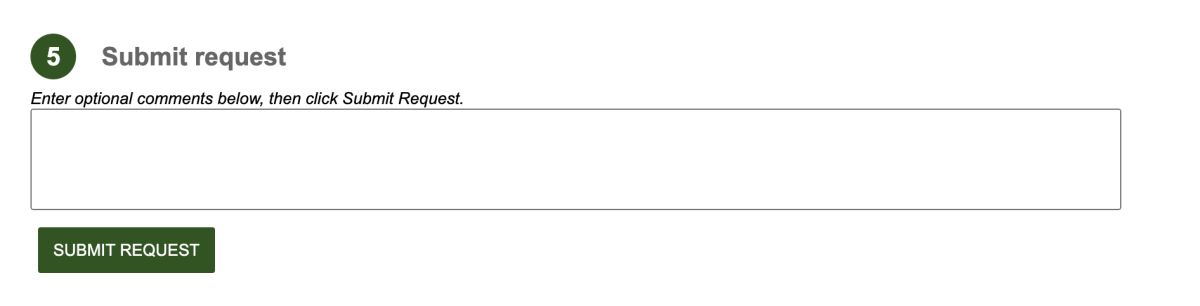
Step Five: Submit request. You may add some optional comments, otherwise, select “Submit Request”.
What’s Next?
The request has been forwarded to your supervisor. They will review the form, send it off to the Access Grantor, and if all goes well, you will receive a confirmation email that you now have that permission/resource attached to your account. If you ever want to see how the approval process is going, you may return to Account Settings and click on the leftmost tab, “View Requests”. Watch this video for more help.
Help Desk
Spring 2024 Hours
Monday - Friday 8am - 8pm
Saturday - Sunday 12pm - 4pm
After hours emergencies:
Call UPD at 826-5555
System Status
| Status | System | Est. resolution |
|---|---|---|
| Planned Maintenance | Duo Multifactor Authentication and Windows Login Services |
04-21-24 7:15am |
| Planned Maintenance | All Systems Maintenance |
04-21-24 11:00am |